Pavel Vladimirovich Tsybin was born in 1905. An engineer by education, his first approach to aviation was during the 1920s; design and construction of gliders got him to acquaint with the later famous Oleg Antonov and Sergei Korolev, later becoming one of the engineers working for the VVS. As of 1946 until 1948 his OKB was responsible for designing a small family of rocket gliders that served in the flying laboratory role, these gathering much valuable information on the transonic flight envelope, later used for later designs. He would go on to specialize in rocketry and space technology. Tsybin would die in 1992 but his contribution to the soviet space program was undeniable.

The LL family of flying laboratories was to have three different wing layouts, all sharing the same fuselage and rocket engine, the solid-fueled Kartukov RPD-1500 II. Designed and built on the basis of a 10m2 area wing, the LL-1 had a straight 3° tappered attack edge. The tail surfaces were all mass balanced by external oval weights. Notable was its all-wood construction, the spars being resin impregnated Delta (of much maligned LaGG fame). it had a water ballast tank, holding up to a ton of fluid for balance and research purposes. Instead of the usual landing gear, a two-wheeled trolley attached to the ventral ski were used, along a tail wheel, this one being contoured into the fuselage. All in all, it was a very sleek and graceful desgin if somewhat boxy; specially when compared to the likes of Berezniak-Isayev and Tikhonravov.
Take-off and climb of the LL-1 carried out in tow of the Tu-2. Immediately after lifting off the ground, the axle-cart with wheels was dropped. At a height of 5-7 thousand meters, the tow guide was uncoupled and the test pilot put the LL-1 into a pronounced dive at an angle of 45-60°. When in a steady dive the pilot started the rocket engine. In this way, the speed of the Ts-1 reached 1000-1050 km / h (M = 0.87). Its working time was 8-10 seconds. When in horizontal flight it went up to 900 (950) km / h.

In the few seconds of the sharp dive, the on-board equipment recorded the flight parameters, photographed the performance envelope, and solved other flight problems. Quite uniquely, the wing was attached to the fuselage via a dynamometer suspension coupling (on four dynamographs), which made it possible to determine the flight axis, the pressure distribution over the wing and tail unit when approaching the critical Mach values of the test. The goal was to trace the parameters of stress phenomena. Then, having become unnecessary at the end of the test flight, a ton of water from the tanks was emptied from the fuselage tank. The now lightened LL-1 flew like a regular glider and landed on the fuselage ski. With a starting weight of 2039 kg, the take-off speed of the LL-1 was in the range of 150-160 km/h, and after draining the water, the landing speed did not exceed 120 km/h.
Tests of the LL-1 began in 1947, the first flight was made by the pilot M. Ivanov. The subsequent flights on the experimental machine were performed by the pilots Amet-Khan Sultan , S.N. Anokhin , N.S. Rybko and others. About 30 flights were made before moving on to the next stage in testing.
The LL-2 with a radical 30° swept wing was not built. The striking-looking LL-3 with its 30° forward swept wing benefitted from the long experience of the soviets designing gliders like the Stakhanovets, but to stay on the safe side of things the wing was built out of aluminium, mated to a wooden fuselage and 40° swept elevators.

The flights and studies in the LL-1 and LL-3 variants gave the scientists unique, first-hand data on the aerodynamic characteristics of airplanes with different wing designs, the distribution of flow pressure over the chord and span, the occurrence and movement of shock waves and stall flow zones behind them on critical values near Mach, the dependence of the growth of the hinge moments of the controls on the flight speed, the features and changes in the parameters of the boundary layer, etc. In addition to studying the properties of transonic flight modes, the LL-1 tail surfaces also provided an extremely clean experiment when comparing various control surface designs.


The kit: Prop & Jet's 1/72nd Tsybin LL-1.
I had the pleasure of coming acquainted with Prop & Jet through its owner on the Luft '46 Facebook group run by a friend of mine and myself. He sent some of his newest kits to us for review, and oh, boy! We were in for a treat! So much so the review went like this:
"It's an excellent kit and can't wait to start building it (Mid-July, 2019). Sharp detail and very accurate, it looks absolutely the part and makes me wanna not have sold the other soviet rocket prototypes I had. Comes with a landing dolly, besides the integral ventral skid. The original didn't have any markings at all, but for the colours I'd go with AGT-16 light blue grey overall, given the time frame. Even AMT-11 would do the trick. Actually, I think I'm starting it this weekend. Looks quite the part. Our friend also produces the sinister looking, all-black, forward swept LL-3 and it looks a blast as well. Beautiful casting, an apeealing subject, simple colour scheme and yet eye-catching."
Extra freebie: You get a box with artwork by Eugeny Knupfer.

Enough said, right?
Safety first. When doing resin kits, always wear a face mask and preferably gloves. If you happen to be sensitive to resin, this way you'll be not only protecting your respiratory system but also the exposed skin and prevent any form of skin reaction.
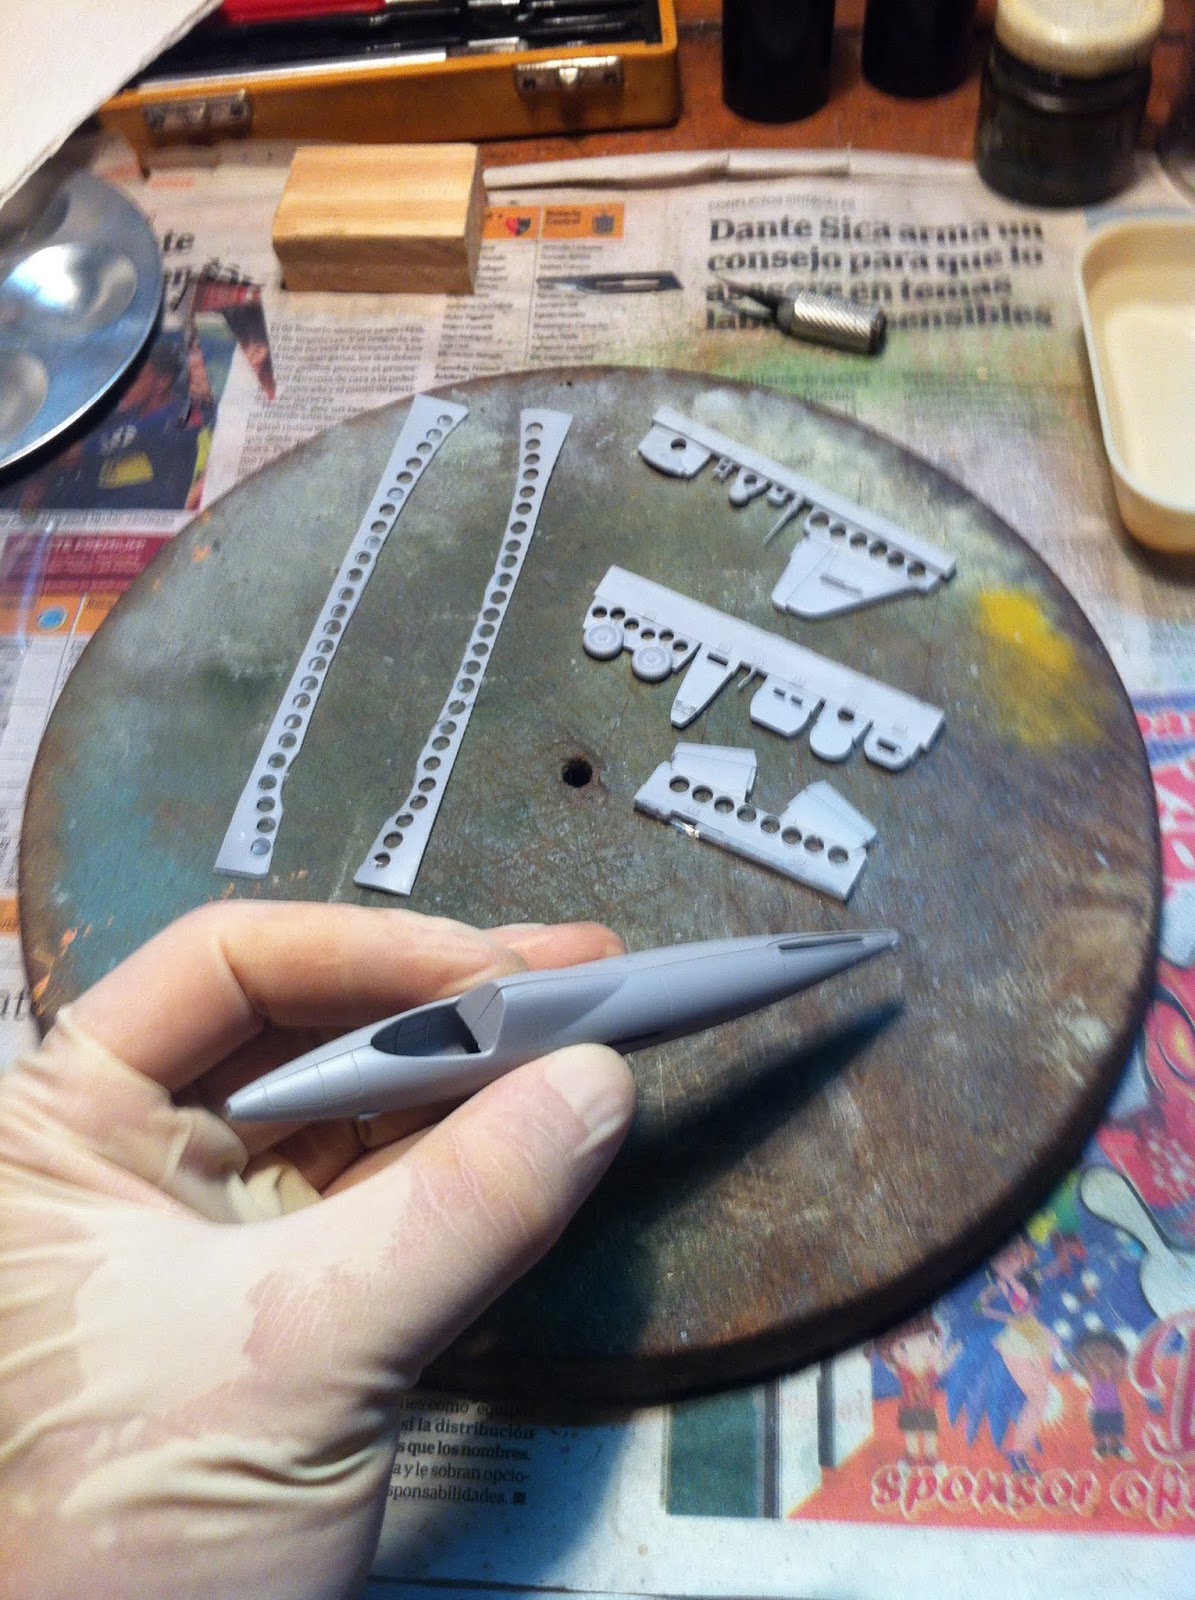
Cutting and sanding the pieces off of their casting blocks was very simple since the attachment surface on the gates is minimal. It only takes patience and a sharp scalpel blade to score on the separation line using minimal force and speed. The secret to deal with resin dust is no secret at all. Unless you're building a truly crapy kit, if you provide for a cut close to the piece and take care, there's only very little waste generated. I tend to cut with a wet blade, use a wet jeweller's file to remove whatever material has been left, and level the cuts and joints with wet sanding paper. To clean them, the tools go to a glass with water to remuve the "sludge" produced. Then it's back to work.

There are few pieces on the kit, and they're very well produced. They make for a simple yet effective cockpit, and there's plenty of room for the super-detailer, if he happens to find pictures of the cockpit. Which I couldn't.

One of the things I learnt while building resin kits is to advance as much of the build as possible before painting. Thus the bulkheads and instrument panel were glued in place. So far so good. The resin doesn't smell when sanded or glued, which is another nice touch.


Humbrol H-27 is a fair and readily available match for A-14, the steel grey used by soviet aeronautics from the mid-1930s. All of the interior was airbrushed with it, the leather head rest being picked with several shades of acrylic red brown to give it volume.

The whole cockpit was then given a wash of highly diluted Tamiya XF-1 Flat Black.


With a q-tip the excess was removed and a gentle drybrushing with H-27 applied to bring out the raised details.

Minimal chipping with a silver pencil was done on the metal parts of the cockpit, namely the seat and rudder pedals. A light blue grey pencil was used to lighten up the upper edges of the seat and cockpit structure.


With that out of the way, attention centered on the flying and control surfaces. With only a few passes of a scalpel they became dettached from their casting blocks, cleaning up was minimal thanks to the notably smooth surface on the parts.

Mating the fuselages halves posed no problem at all. Minimal amounts of superglue are to be used for three reasons. Superglue dries harder than resin as a rule. Any extra sanding can potentially damage the piece while trying to remove the excess CA glue. It's less work for you and less trouble. Also, if applied correctly, CA glue will fill the gap between the pieces, making filler - and more sanding - unnecessary. Whatever little overflow can be wet sanded with a fine grade sanding paper, no need to bring out the 150 coarse monster. Back to the kit. A most perfect fit, requiring only a minimaltouch up with CA glue on the belly behind the skid mount fairing. And I think it was down to my having oversanded the area.

While attaching the wings, the tab and socket arrangement provided a most positive fitting and there was no need to user filler at all, other than a gently rubbing to remove any excess superglue. The fin attaches quite well and was leveled via wet sanding. Always double check your work, you may be missing a spot or two. the nose probe was attached and faired in to the fuselage. Take care with the small balance weights on the rudder and elevators, I managed to break one. The air intake on the fuselage side come pre-drilled, which is very nice.

After priming, the whole aircraft was painted with H-127 US Light ghost Grey. It is a fair match for AMT-11 once it has faded and become greyer.

The nose probe was masked and painted in Hataka's AII Aluminum and Night Black.

The early stages of weathering. After using AII Aluminum for the exhaust nozzle, it was brushed on the exit rim side with graphite powder and then Ammo's black pigment for exhaust heating since it gives a nice brown-black gradient to the metallic finish. A wash was applied to al the recesses and panel lines with Humbrol's H-33 Black, highly diluted. Once dry, it was removed with a q-tip moistened in turpentine. The rudder is shown before the final clean up. Tamiya's XF-52 Flat Earth was used to dirty up a little the rear undersurface since the tail wheel is faired and the attitude of the machine on the ground leave the tail cone very close to dirt and grass.

The take-off dolly is very simple to assemble, the wheels have great detail. Painted in Humbrol H-27, H-33 and Tamiya XF-52.


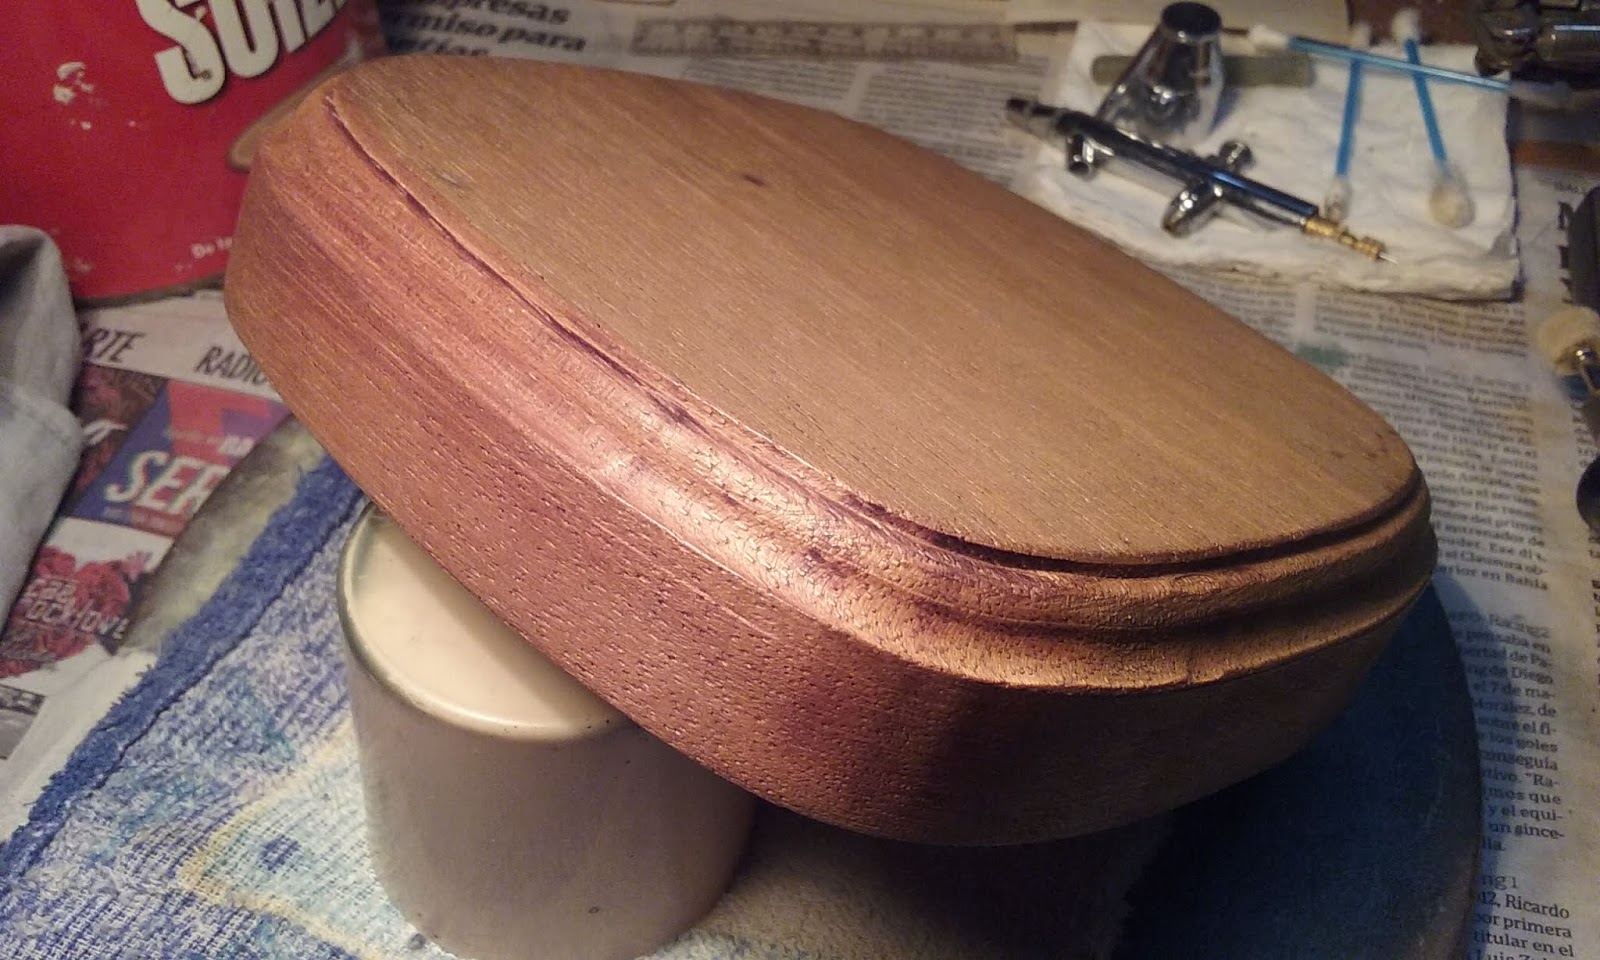
A friend of mine sent me a cedar-wood base, which was waxed and polished.
Scale flocking of several shades was used to replicate the different colours of grass.

The finished Tsybin LL-1:


All in all, it was a fast and very enjoyable build. This is the kind of kits from which the short run resin kit makers should learn in order to make their products more appealing to the average modeler. Ease of build, nice proportions and layout and sterling presentation. Well done, Prop & Jet. And thank you for such a great kit.
Until the next time, take care, stay safe, and good luck.
TMU.
Comments